

Peach Cookies
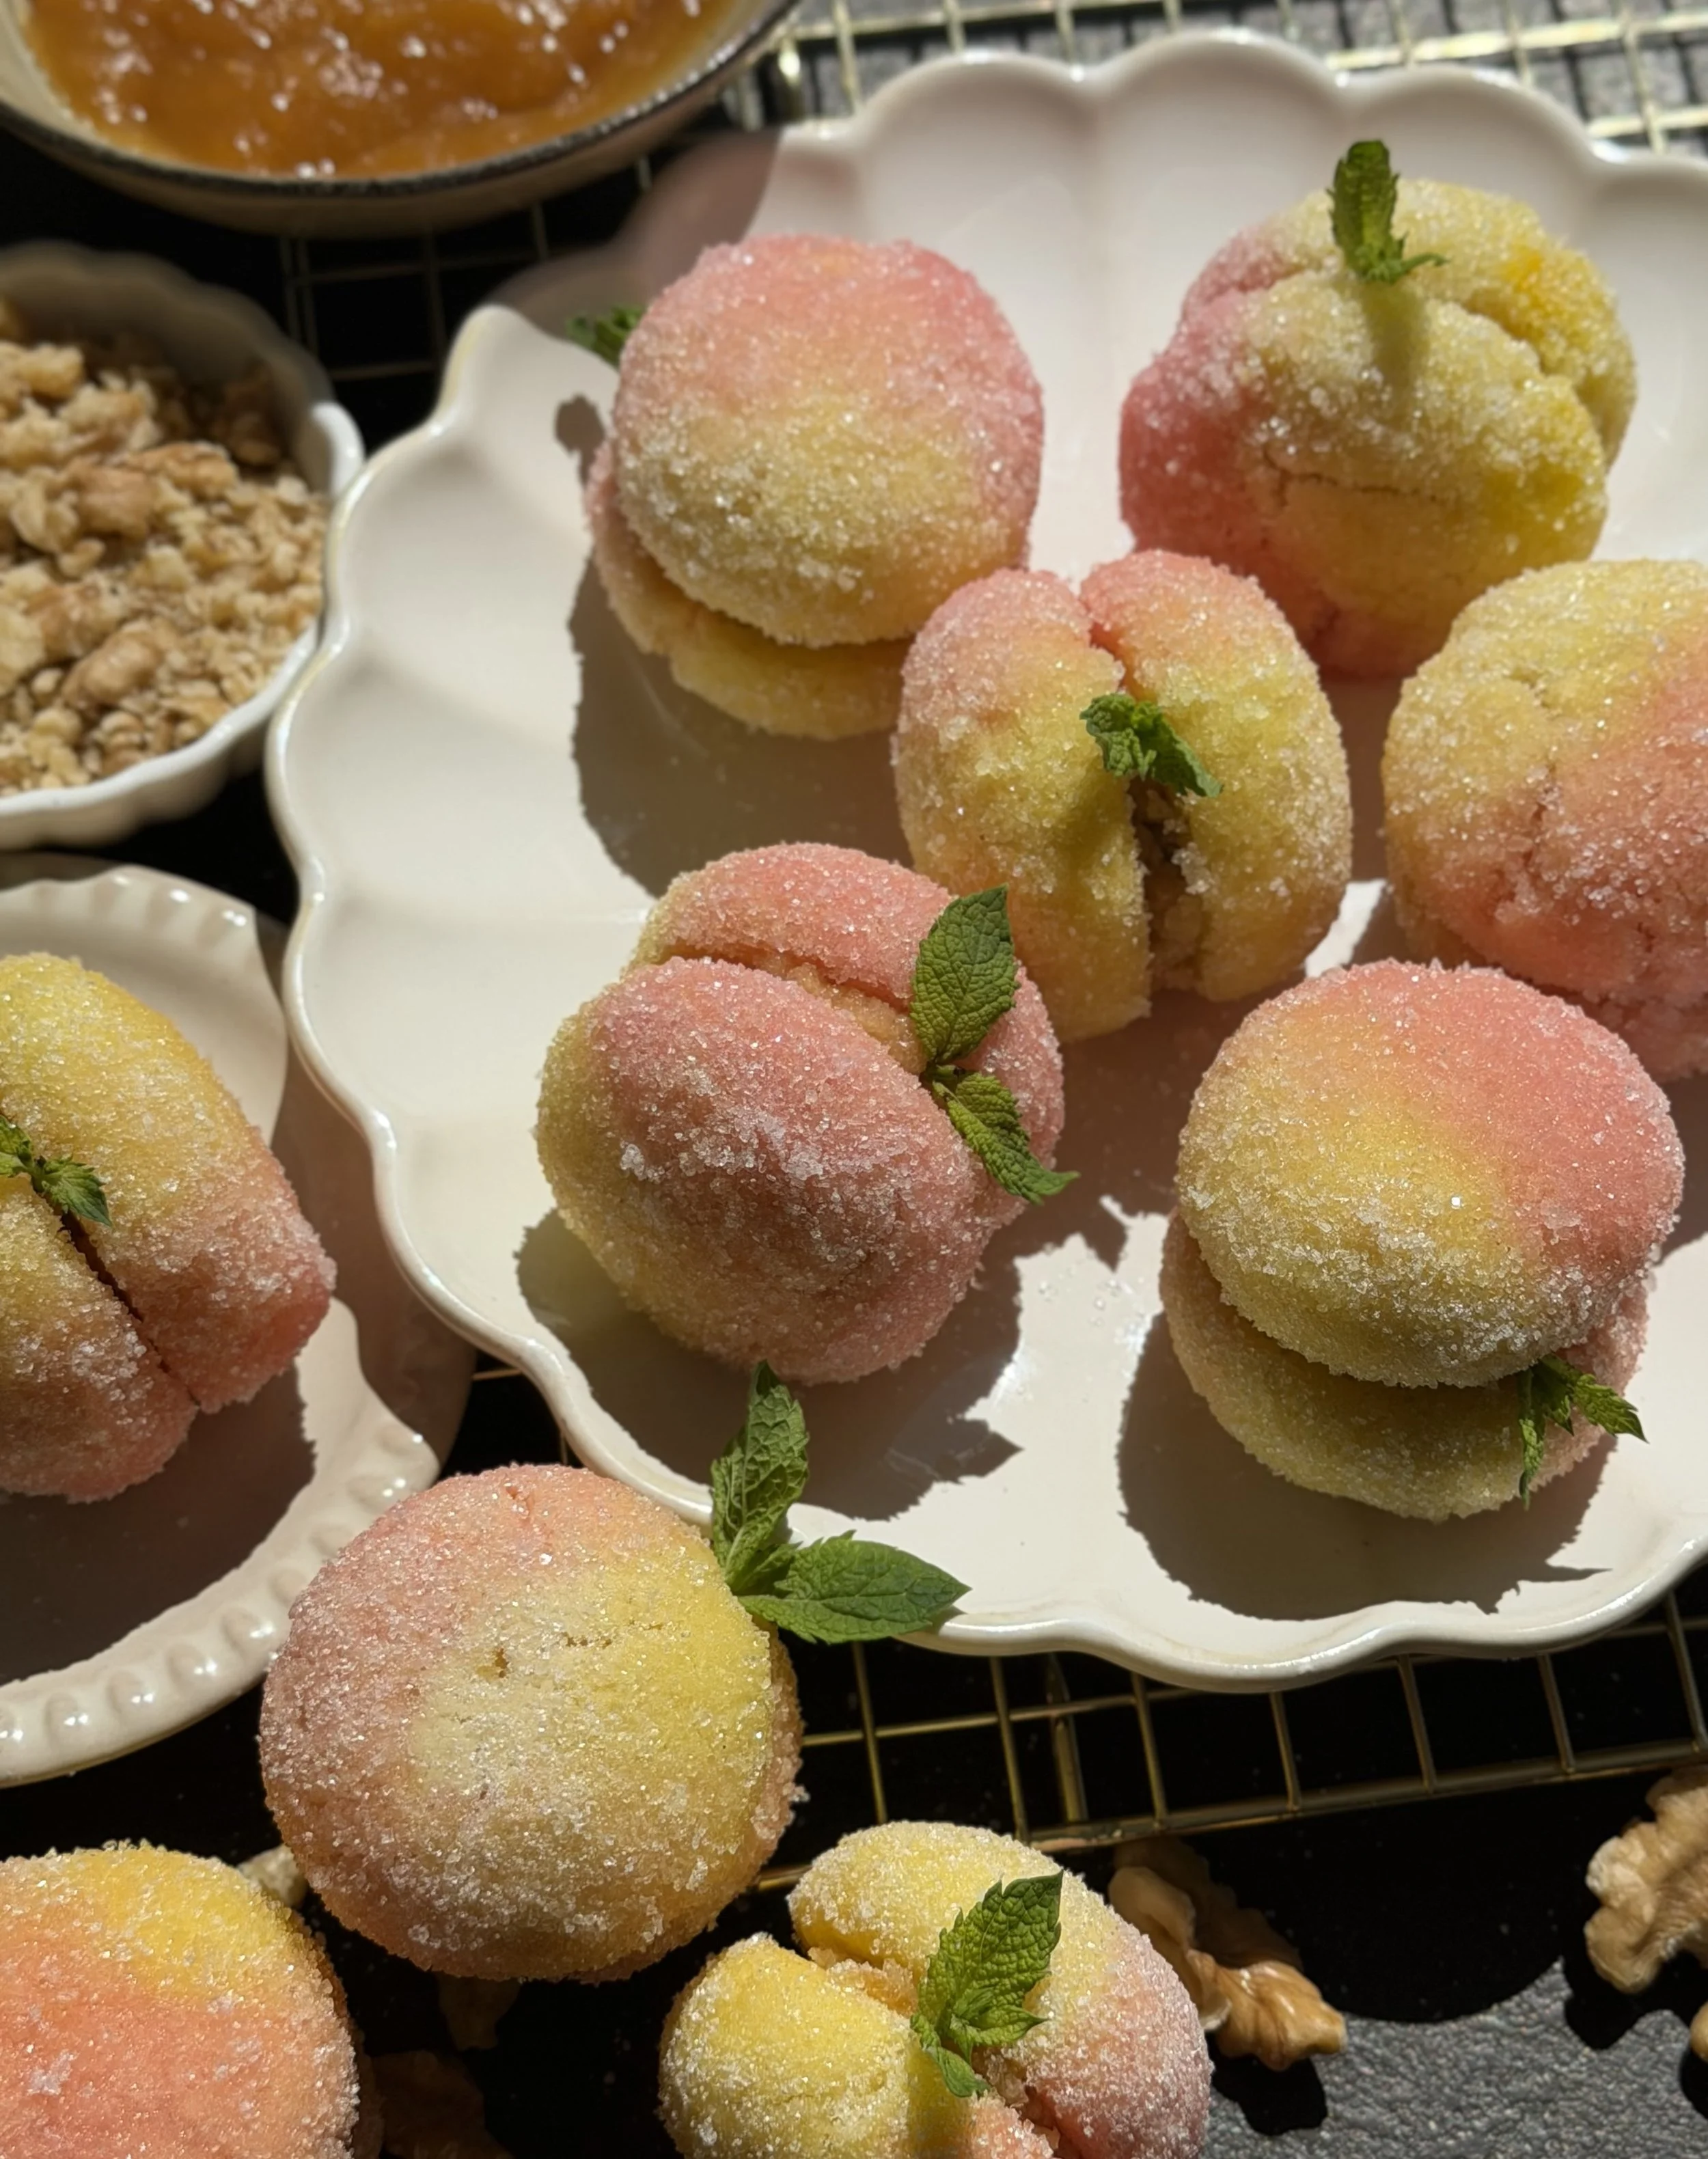
Italian Peach Cookies (Pesche Dolci) are soft, light and cake-like cookies transformed into the prettiest little peaches! 🍑
Filled with peach jam, walnuts and cookie crumbs, then dipped in coloured milk and rolled in sugar for that classic fuzzy peach finish. They’re surprisingly easy to make and so much fun to decorate.
Fill them traditionally or switch it up with Nutella, mascarpone cream or your favourite filling!
Ingredients
For the Cookies
250 g (2 cups) all-purpose/plain flour, plus a little extra if needed
60 g (½ cup) icing/powdered sugar
6 g (1½ teaspoons) baking powder
1 g (¼ teaspoon) fine salt
1 large egg, room temperature
100 g (7 tablespoons / just under ½ cup) unsalted butter, melted and cooled slightly
30 ml (2 tablespoons) whole milk, plus a little extra if needed
5 ml (1 teaspoon) vanilla extract or vanilla paste
6 g (1 tablespoon) finely grated lemon zest
For the Filling
160 g (about ½ cup) peach or apricot jam
50 g (½ cup) reserved cookie crumbs
30 g (¼ cup) finely ground walnuts
For Decorating
240 ml (1 cup) whole milk, divided
Red food colouring, as needed
Yellow food colouring, as needed
100 g (½ cup) fine/caster sugar
Fresh mint leaves, to decorate
Method
1. Prepare the Oven
Preheat the oven to 180°C / 350°F (160°C fan). Line a large baking tray with baking paper.
2. Make the Cookie Dough
In a medium bowl, whisk together the flour, baking powder and salt. Set aside.
In a separate large mixing bowl, whisk the egg and icing sugar together until pale, smooth and creamy.
Add the melted and slightly cooled butter, vanilla and lemon zest. Whisk again until well combined.
Gradually add the dry ingredients, mixing gently after each addition. Add the milk and mix until a soft, smooth dough forms.
The dough should be soft enough to roll easily but shouldn't stick heavily to your hands. If it feels too sticky, add a little extra flour, 1 tablespoon (8 g) at a time. Avoid adding too much as this can make the cookies dry.
3. Shape the Cookies
Take small portions of dough and roll them between your palms into smooth balls, approximately 2.5–3 cm (1–1¼ inches) in diameter.
Place them onto the prepared baking tray, leaving a little space between each cookie.
Gently flatten the bottom of each ball against the tray while keeping the top rounded. This will give you a flat surface for joining the cookies together later.
Try to make the cookies as even in size as possible so they pair together neatly.
4. Bake
Bake for 12–15 minutes, or until the bottoms are very lightly golden. The tops should remain fairly pale and the cookies should feel soft and cake-like.
Avoid overbaking as you want the finished peach cookies to stay light and tender.
Leave the cookies on the baking tray for approximately 5 minutes, then carefully transfer them to a wire rack to cool completely.
5. Hollow the Cookies
Once completely cool, turn each cookie over.
Using the tip of a small sharp knife, carefully scoop a shallow hollow from the centre of the flat side of each cookie.
Work gently and don't hollow them too deeply, as the cookies can crack.
Don't throw away the cookie pieces! Crumble them finely and reserve 50 g (½ cup) for the filling.
Pair cookies of a similar size together before filling.
6. Make the Filling
Place the reserved cookie crumbs and ground walnuts into a medium bowl and mix together.
Gradually add the peach or apricot jam and stir until you have a thick, moist filling that holds together.
The exact amount of jam you need may vary slightly depending on its consistency, so add it gradually. The filling should be soft enough to pipe or spoon into the cookies without being runny.
Transfer the mixture to a piping bag, or simply use a small spoon.
7. Fill and Assemble
Pipe or spoon a small amount of filling into the hollow of each cookie.
Take two matching cookie halves and gently press the flat sides together to create a peach shape.
Don't overfill them or the filling will squeeze out around the edges.
Repeat until all the cookies have been assembled.
8. Prepare the Peach Colours
Divide the 240 ml (1 cup) milk evenly between two small bowls, approximately 120 ml (½ cup) in each.
Add a few drops of yellow food colouring to one bowl and red food colouring to the other. Mix until evenly coloured.
Start with only a small amount of food colouring and gradually add more until you have a bright yellow and peachy-red shade.
Place the 100 g (½ cup) fine/caster sugar into a separate shallow bowl.
9. Colour the Peaches
Working with one assembled cookie at a time, quickly dip one side into the yellow milk.
Turn the cookie and dip the opposite side into the red milk, allowing the colours to overlap slightly. You don't need to colour each peach perfectly, slightly uneven colouring actually helps them look more natural.
Keep the dipping quick. You want to colour the outside rather than soak the cookies in milk.
Immediately roll the cookie gently in the fine sugar until the entire surface is coated. The sugar gives the cookies their lovely fuzzy peach appearance.
Place onto a wire rack or a tray lined with baking paper.
Repeat with the remaining cookies.
10. Decorate
Allow the finished peach cookies to rest until the surface is no longer wet and the colours have settled.
Just before serving, tuck a small fresh mint leaf into the top of each cookie to create the peach leaf.
Storage
Store the finished cookies in an airtight container in the refrigerator for up to 3–4 days.
For the best texture, remove them from the refrigerator around 10–15 minutes before serving.
Tips for Perfect Peach Cookies 🍑
Don't overbake. Keeping the cookies pale helps them stay soft and cake-like.
Keep them evenly sized. This makes pairing the halves much easier.
Hollow carefully. Remove just enough cookie to hold the filling without making the shell too thin.
Dip, don't soak. A very quick dip in the coloured milk is all you need.
Embrace imperfect colouring. A mixture of yellow, red and peach tones makes them look much more like real fruit.
Make them ahead. Once filled and decorated, the cookies soften slightly as they rest, giving them that lovely tender texture.