

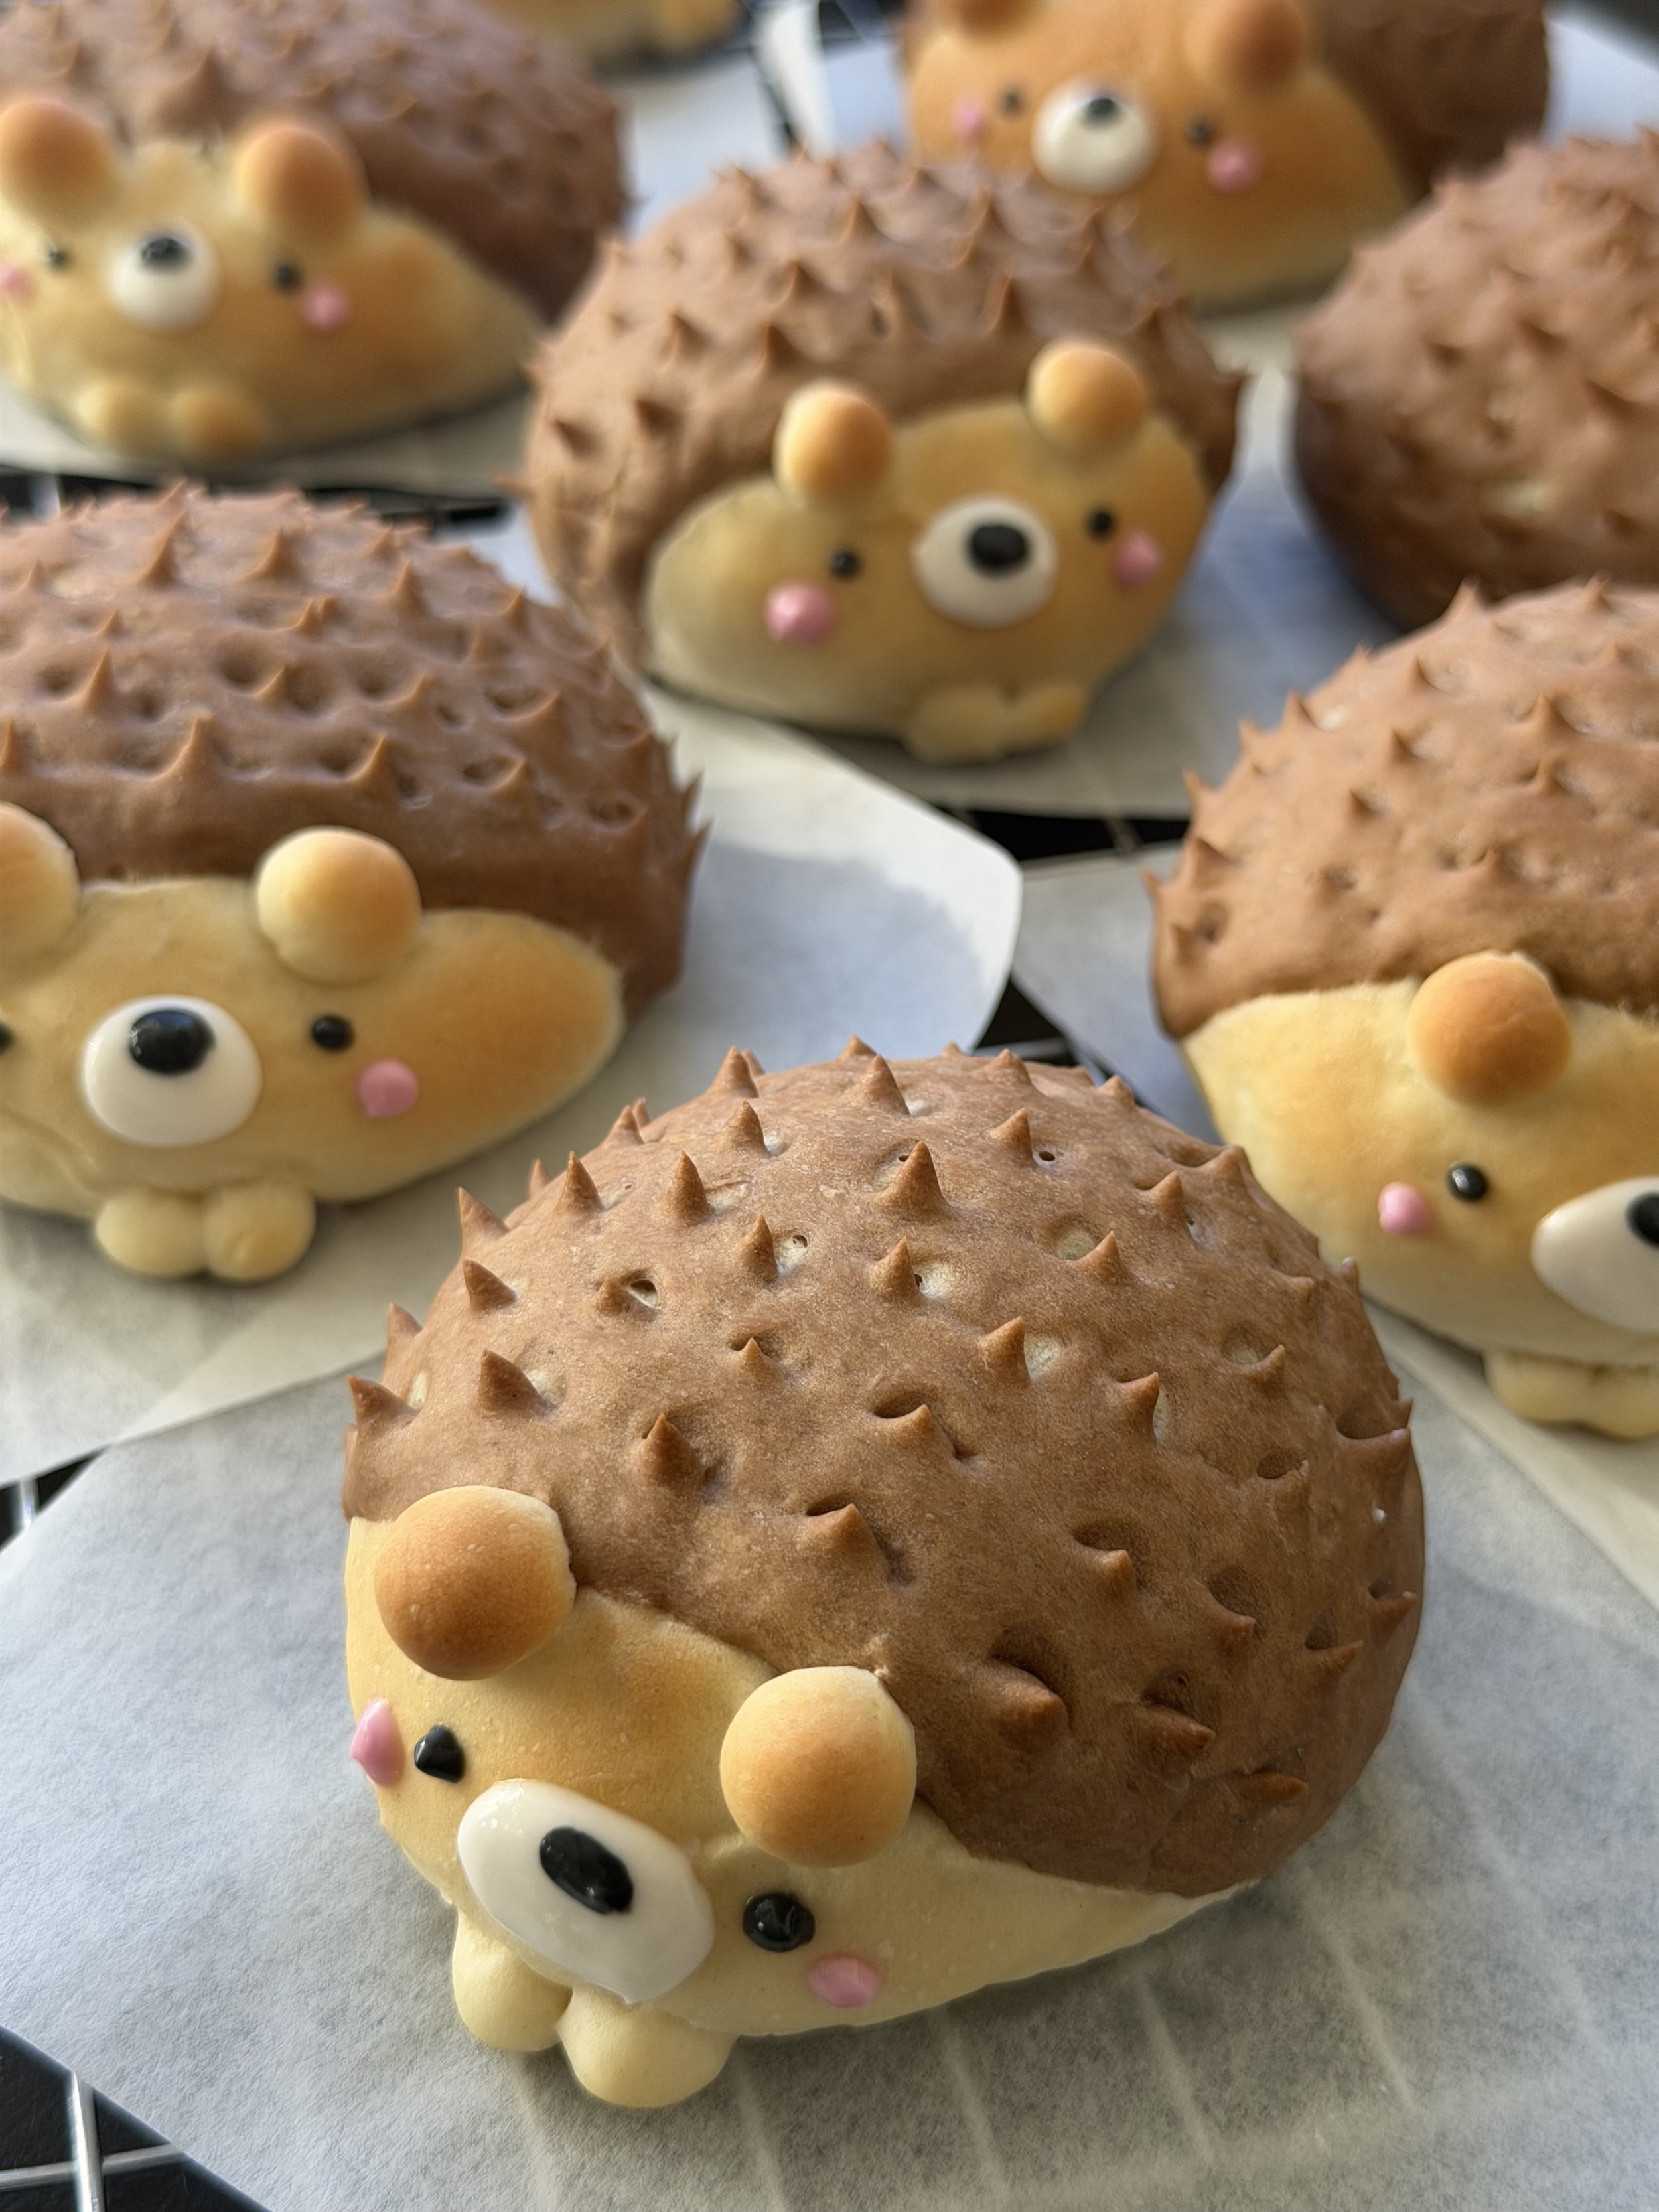
These little hedgehog bread buns are almost too adorable! Made with soft, fluffy milk bread dough and a cocoa bread topping, each bun is shaped into a hedgehog with tiny ears, paws and snipped spikes. Finished with sweet little chocolate faces, they're perfect for autumn baking, kids' parties or simply a fun weekend baking project!
Makes: 12 hedgehog buns
Prep time: 40–50 minutes (plus proving)
Bake time: 12–15 minutes
Oven temperature: 150°C (fan 140°C)
Ingredients
Bread Dough
320g strong bread flour
80g cake flour
30g caster sugar
6g instant dried yeast
120ml milk, lukewarm
140ml water, lukewarm
16g honey
6g salt
35g unsalted butter, softened
Cocoa Dough
½ tsp black cocoa powder or regular cocoa powder
½ tsp water
Optional: a little brown gel food colouring for a darker shade
For Decorating
White, black and pink candy melts
Instructions
1. Make the bread dough
Add the bread flour, cake flour, sugar, yeast, milk, water, honey and salt to the bowl of a stand mixer fitted with a dough hook. Mix on low speed until a dough forms.
Add the softened butter and continue kneading on medium-low speed for approximately 10–15 minutes, until the dough is smooth, soft and elastic.
Windowpane test: Pinch off a small piece of dough and gently stretch it between your fingers. If it stretches into a thin, almost transparent membrane without tearing, the gluten is well developed and your dough is ready.
2. Colour and prove the dough
Remove 180g of dough and set aside. Mix the cocoa powder with ½ tsp water to form a paste, then knead it into the 180g portion until evenly coloured. Add a tiny amount of brown gel food colouring if you prefer a darker shade.
Place both doughs into separate lightly greased bowls, cover and leave to prove in a warm place for approximately 60–90 minutes, or until doubled in size.
3. Divide and rest
Gently deflate the plain dough and reserve 15g for the ears and paws. Divide the remaining plain dough into 12 equal portions.
Divide the cocoa dough into 12 equal portions.
Shape each portion into a ball, cover with a damp cloth and leave to rest for 10 minutes. Keep the dough covered whenever you're not working with it to prevent it from drying out.
4. Shape the hedgehog bodies
Take one portion of plain dough and gently flatten it with your palm to release any large air bubbles. Bring the edges towards the centre, pinch to seal, then turn it seam-side down.
Cup your hand around the dough and roll gently against the work surface to create a smooth, round bun. Repeat with the remaining portions.
5. Add the cocoa topping
Roll each cocoa dough ball into a thin circle, approximately 9cm in diameter.
Drape the cocoa circle over the back two-thirds of each plain bun, leaving approximately one-third of the front uncovered for the hedgehog's face.
Gently stretch the cocoa dough around the sides and tuck the edges underneath the bun, keeping the seam at the bottom.
Arrange the buns on a lined baking tray, leaving enough space between them to rise.
6. Add the ears and paws
Divide the reserved plain dough into 48 tiny pieces, four for each hedgehog.
Roll each piece into a small ball. Attach two ears near the front edge of the cocoa topping and two little paws towards the bottom of the face.
Use a toothpick to gently press the base of each piece into the bun so it stays in place during baking.
7. Create the hedgehog spikes
Using small, sharp kitchen scissors, snip the cocoa dough into little V-shaped spikes.
Hold the scissors at a slight angle and work from the front towards the back, creating approximately 6–7 staggered rows.
Be careful not to cut too deeply into the plain dough underneath.
8. Final Prove and Bake
Cover the shaped buns loosely and allow them to prove until slightly puffy, approximately 20–30 minutes. As the dough continues rising during shaping, they may need less time.
Preheat the oven to 180°C, then reduce the temperature to 150°C (140°C fan) just before baking.
Generously mist the inside of the oven with water to create steam, then immediately place the buns inside and bake for approximately 12–15 minutes, until cooked through. The steam helps keep the bread soft, while the lower temperature prevents excessive browning.
Transfer to a wire rack and allow to cool completely.
9. Decorate
Melt the black, white and pink candy melts separately, then transfer to small piping bags.
Pipe tiny black eyes and noses, add white highlights and finish with little pink cheeks.
Allow the chocolate to set before serving.
Winnie's Tips 💛
Keep the dough soft: Avoid adding too much extra flour during kneading. The dough should feel soft and slightly tacky, but manageable.
Don't skip the resting time: Resting relaxes the gluten, making the cocoa dough much easier to roll and stretch without shrinking.
For neat spikes: Use sharp scissors and make shallow, angled snips. The spikes will become more defined as the buns bake.
Watch the final prove: Overproofing can cause the hedgehogs to lose their shape and the spikes to flatten.
Storage: These buns are best enjoyed fresh on the day they're baked. Store in an airtight container for up to 2 days, or freeze undecorated buns for up to 1 month.
A little serving idea: Slice the buns in half and enjoy with butter, jam or chocolate spread. They're just as delicious as they are fun to make!