

Halloween Linzer Cookies
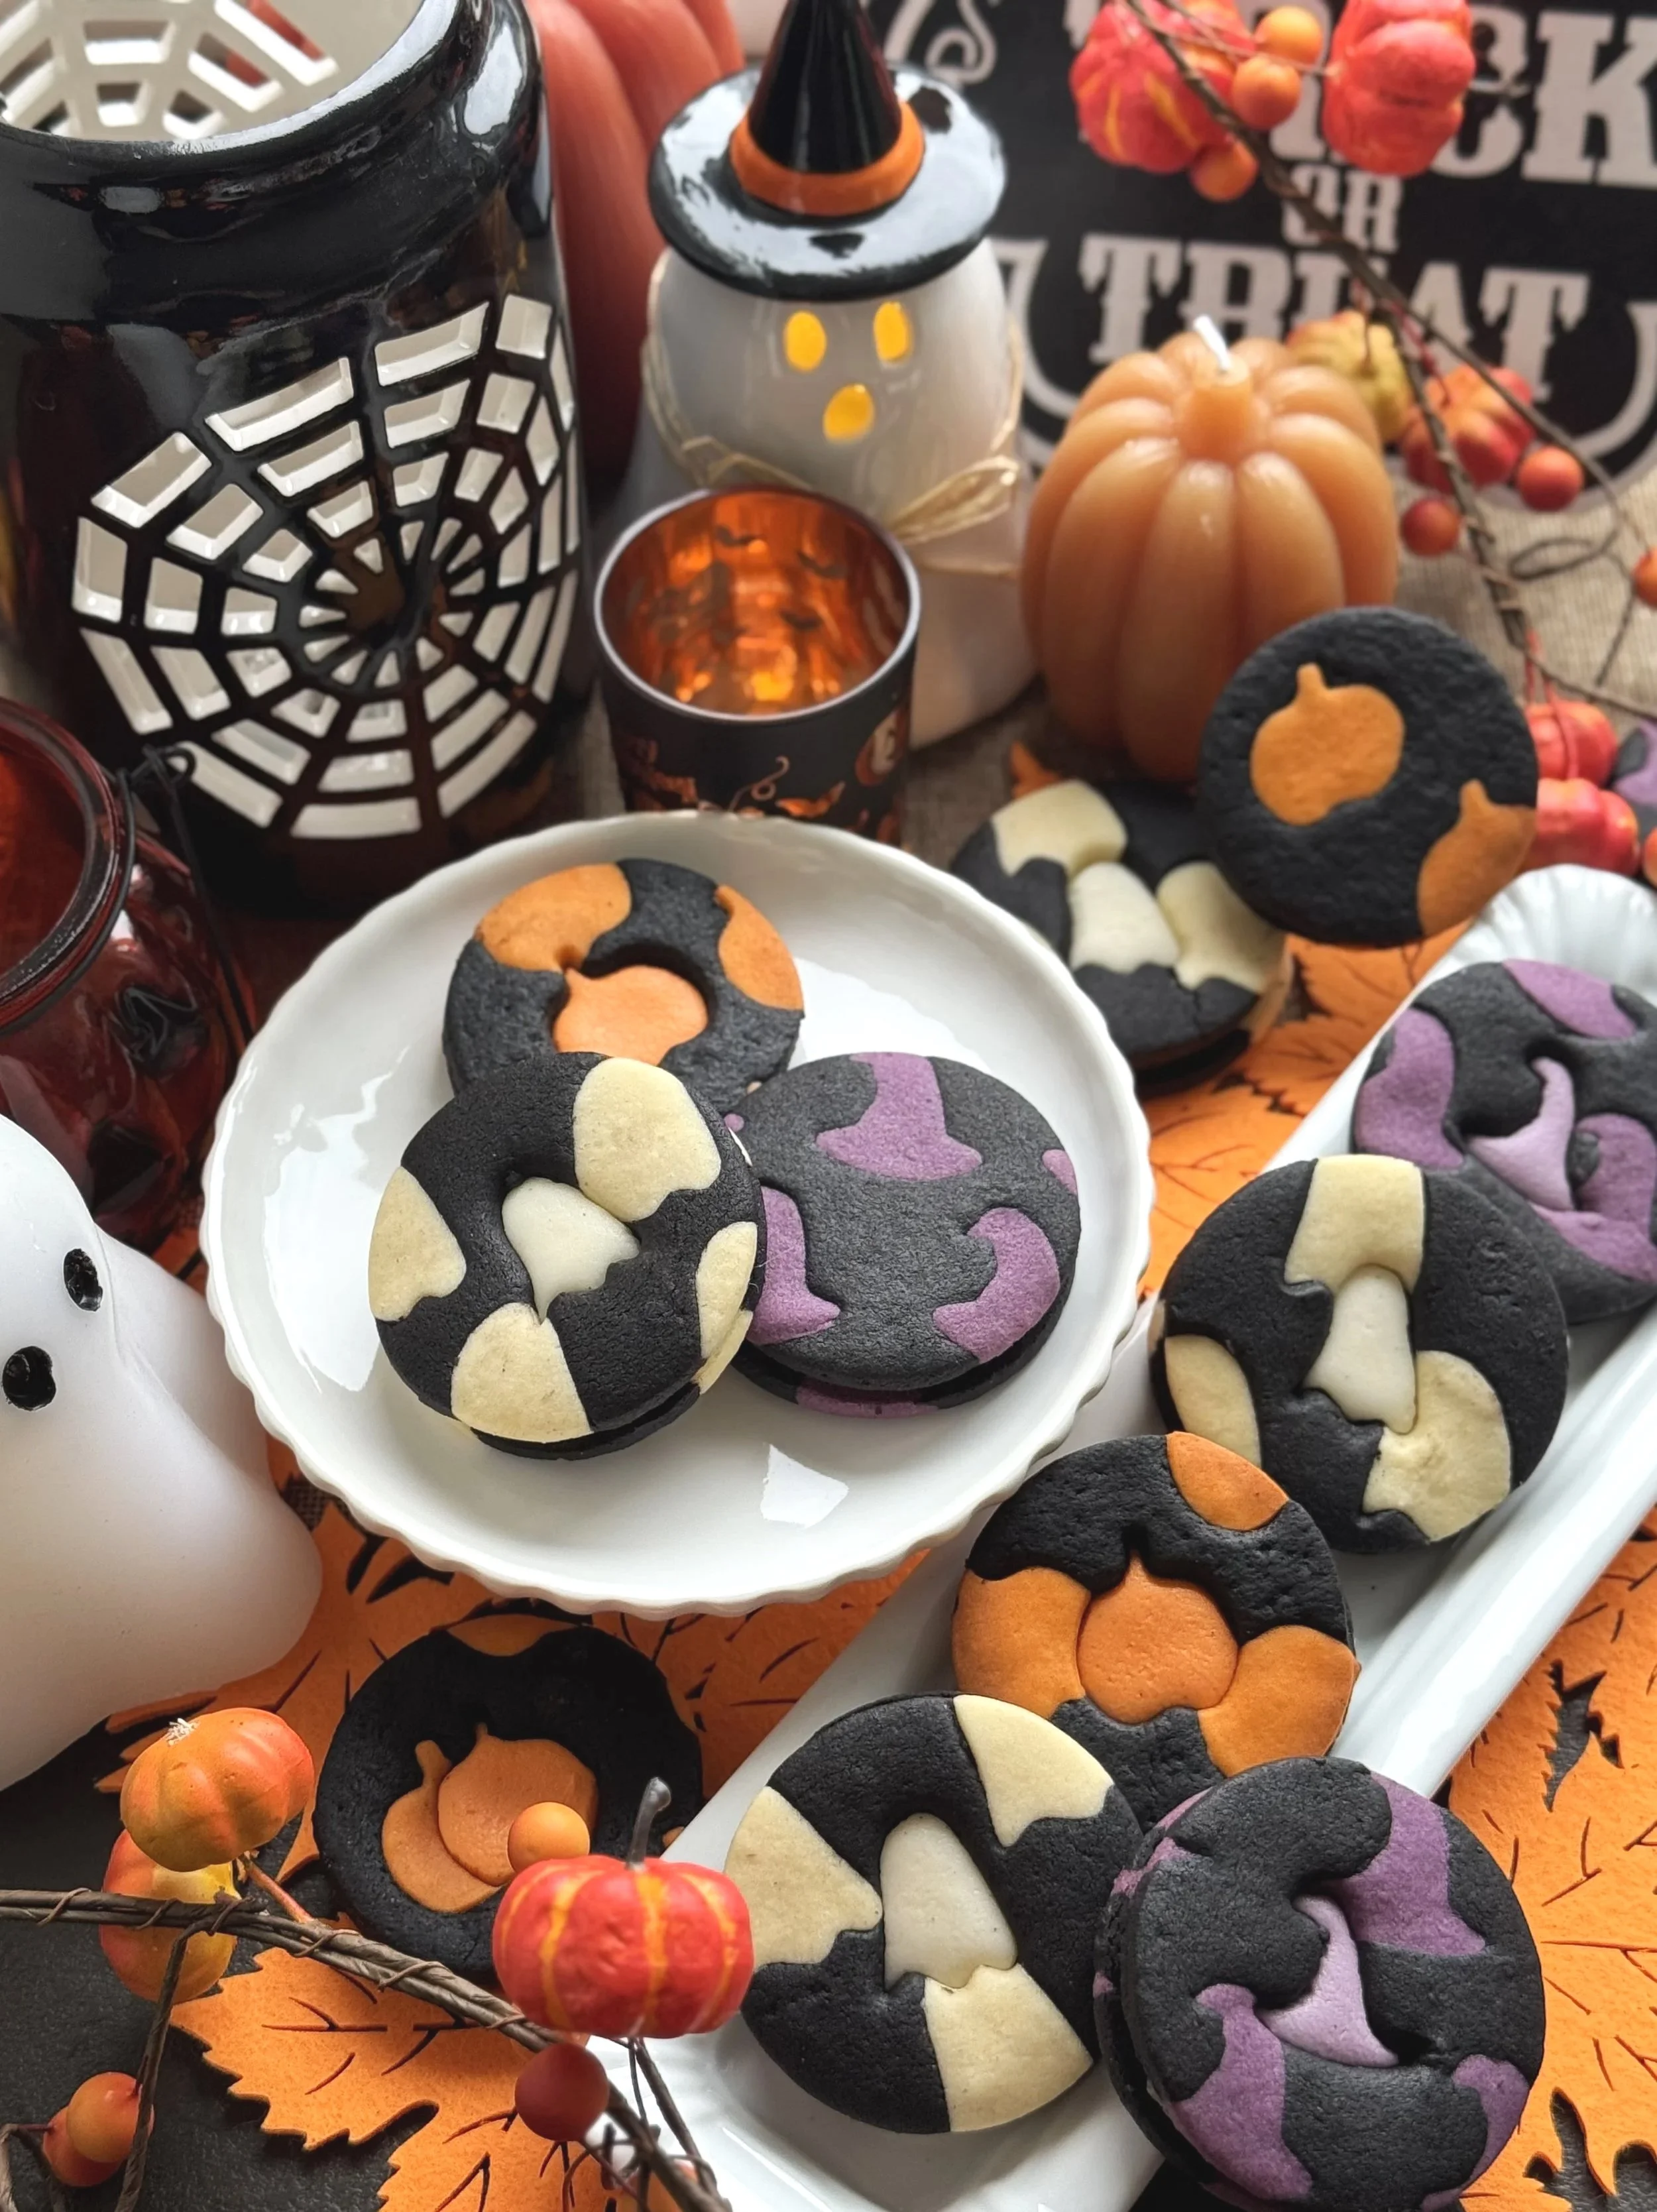
These adorable Halloween Linzer cookies feature a rich chocolate cookie base inlaid with colourful vanilla dough cut-outs: spooky ghosts, cheerful pumpkins, and cute witches’ hats! The buttery chocolate and vanilla layers create a fun contrast, and the cookies are sandwiched with tinted vanilla buttercream for that striking Halloween look.
Yields: 20–24 cookies
Ingredients:
Chocolate Cookie Dough (Base)
300g salted butter, softened
150g icing sugar
1 large egg (lightly whisked)
2 tsp vanilla paste
390g all-purpose flour
½ tsp salt
100g black cocoa powder (or regular cocoa plus few drops of black food colour gel)
4-6 tbsp warm milk (adjust to make a cocoa paste)
Vanilla Cookie Dough (Inlay)
150g salted butter, softened
60g icing sugar
30g whole egg (lightly whisked)
1 tsp vanilla paste
250g all-purpose flour
¼ tsp salt
Gel food colours – orange and purple
Vanilla Buttercream (Filling)
120g salted butter, softened
375g icing sugar
40ml milk
1.5 tsp vanilla paste
1/2 tsp salt
Gel food colours – orange and purple
Instructions:
1. Make the Chocolate Cookie Dough (Base)
In a large bowl, cream together butter and icing sugar until light and fluffy.
Add the egg and vanilla paste, mixing well.
In a small bowl, stir together black cocoa powder and warm milk to form a smooth paste, then mix it into the butter mixture.Adjust the amount of milk to create a paste.
Sift in flour and salt, and mix until a soft dough forms. Please note if the dough is too wet you can add a few more tablespoon of flour.
Divide into two portions, flatten slightly, wrap, and chill for 20–30 minutes.
2. Make the Vanilla Cookie Dough (Inlay)
In a separate bowl, cream together butter and icing sugar until pale and fluffy.
Add the egg and vanilla paste, mixing well.
Sift in flour and salt, and mix until smooth.
Divide the dough into three portions:
Tint one orange (for pumpkins)
Tint one purple (for witches’ hats)
Leave one plain (for ghosts)
Wrap each coloured dough and chill for 15–20 minutes.
3. Roll Out and Chill
Roll out all doughs (both chocolate and coloured vanilla) between two sheets of parchment paper to about 3mm thickness.
Place the rolled-out sheets flat on a tray and chill for 30 minutes — this helps the dough firm up, making it much easier to cut and inlay your Halloween patterns cleanly.
4. Create the Halloween Inlay Design
Take one sheet of chilled chocolate dough and use mini Halloween cutters (ghost, pumpkin, and witch’s hat) to cut small shapes across the surface.
Roll out the matching vanilla doughs (orange, purple, and plain) and cut the same shapes.
Gently place the coloured pieces into the cutouts on the chocolate dough.
Press lightly, then roll once over the surface with a rolling pin to smooth everything together.
Chill the decorated dough again for 30 minutes before cutting.
5. Cut and Bake
Use a round cutter approx. 5cm-6cm (or preferred shape) to cut cookies from the patterned sheet. This is why I love the Decora mix and match cutters as everthing fits perfectly and centered.
For half of the cookies in each design, use the motif cutter to cut out a window in the center (these will be the tops).
Place cookies on a parchment-lined baking tray and chill for 10 minutes before baking.
Bake at 170°C for 8–10 minutes, or until just set around the edges. If your oven on the hotter side then adjust accordingly.
Cool completely on a wire rack.
6. Make the Vanilla Buttercream
Beat butter until pale and fluffy.
Gradually add icing sugar and salt, then mix in milk and vanilla paste until smooth.
Divide into three bowls and tint with orange and purple gel food colours. Leave the uncoloured for the ghost cookies.
7. Assemble the Linzer Cookies
Spread a small amount of coloured buttercream onto the flat side of each solid cookie.
Top with a cut-out cookie so the colour shows through the Halloween window.
Match the buttercream colours for each motif for that monochrome look.
Tip: Store cookies in an airtight container for up to 3 days, or refrigerate to keep them fresh longer.